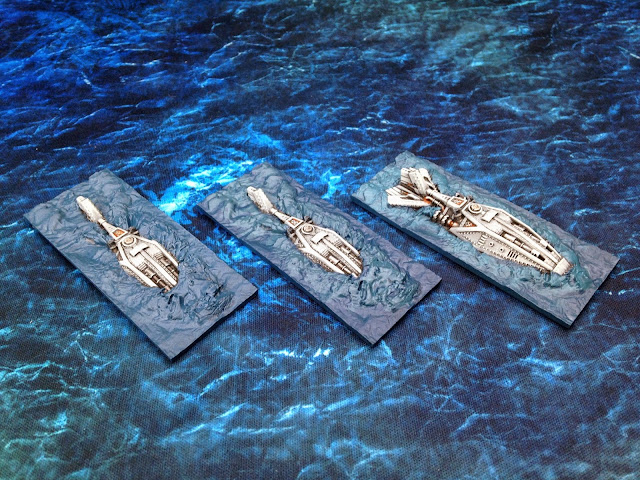
I am often asked how I paint the water features around my models, an integral part of any scenic base like those found on the Diving vessels of Dystopian Wars. Luckily it is a very simple process! I have discussed in the past my methods and preparation (previous post found here), but now I have some Work-in-Progress pictures that will make everything clearer.
Since the release of Second Edition Spartan Games have updated their sculpting and made their scenic bases even more impressive, with rough seas that look a great deal more realistic. These are even more fun to paint, needing less control and allowing for easier transitions between the darkness and the light. The techniques shown here work best with this style of sculpt, but can be adjusted for the calmer seas of the older models.
The first model I can recall painting with this new style was the Boston-class Submarine for the Federated States of America, shown below, and this is the result we are looking to replicate with this article.
 |
| Boston-class Submarines on patrol |
- Where possible, I like to "wet-blend" and highlight while the previous layer of paint is still wet. This makes the highlighting look great, but is difficult to achieve when painting models in batches. It is not necessary to achieve the result, but will improve the final outcome.
- When I refer to highlighting, I explicitly mean painting a smaller area than the layer beneath, with a light colour. Always try to leave some of the colour beneath showing.
- Use of lighter or warmer shades will give a different finish. If you wanted a shallower ocean, or warmer climes, I might recommend using richer blues that have less of a grey finish to them. Just be aware the ocean is not bright Ultramarine blue! It is dark and forbidding - you're not fighting on a beach in the Canary Islands!
- Beware the damage done to your paintbruses during this process - it is not neat and tidy, and if you plan to wet blend, the paint may be on the brushes for a long time. Wash them out as often as you can!
- I like to paint the vessel or submarine first, but I leave this up to you - just be careful either way!
Onto the painting!
 |
| The finished squadrons head for deeper waters |
Thanks for reading,
George


No comments:
Post a Comment