

Ten players attended the tournament, playing three games each, and we saw a nice mixture of different fleets - three UCM, three PHR, three Scourge and one Shaltari. The missions were Grid Control, Mixed Engagement and Station Assault.
As discussed in a previous post, Adam and myself were running the event, with Adam as the ringmaster and credit-taker while I ran the logistical side and supplied four boards, all of the terrain and objective markers. I was running the Scourge for the first time, with a fleet I had painted at speed the week before and had very little practice running. Time for a trial by fire for the Jellies!
 |
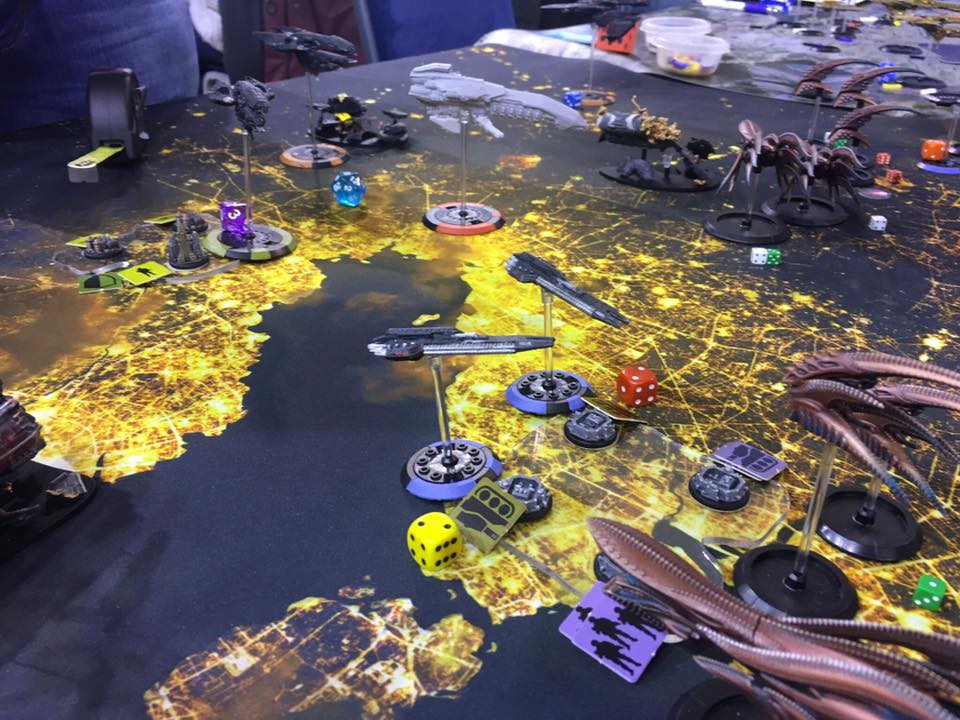
| The infamous Akuma-class Battlecruiser Grendel haunts the ragged debris fields |
THE LIST
My fleet was as follows...
Akuma-class Battlecruiser (Admiral Level Four)
Two Wyvern-class Cruisers
Hydra-class Fleet Carrier
Chimera-class Bulk Lander
Hydra-class Fleet Carrier
Four Gargoyle-class Strike Carriers
Four Nickar-class Corvettes
Two Gargoyle-class Strike Carriers
Three Djinn-class Frigates
Solid Launch, below-average Drop capacity and WAY too much Close Action weaponry. Only the Battlecruiser had serious long-range weaponry, and that would hurt a lot in the games to come. The fleet was a lot of fun to run with big handfuls of dice to roll, but getting into position to roll all of those dice was the problem!
GAME ONE - Grid Control versus UCM
 |
| An early shot of the game as the Hydras unleash their bomber squadrons |
The first match of the day was drawn against Luke and his pair of Centurion-class Cruisers, fresh out of their parcel! I had played Luke once before at Midlands Maelstrom last year, and had beaten him handily in a UCM versus UCM match. His list looked strong - an Avalon-class Battlecruiser, the aforementioned pair of Centurion-class Cruisers, two Seattle-class Carriers, two San Francisco-class Troopships, five New Orleans-class Strike Carriers and three Taipei-class Missile Frigates.
The Missile Frigates were an immediate concern as their Strategy Rating was the same as my Djinn-class Frigates, while the amount of firepower he would be able to throw out was daunting. I was particularly worried about the Centurions, though I knew that enough Critical Hits would see them brought down fast enough.
Early on the UCM started Active Scanning my Chimera-class Troopship, forcing it to go Silent Running on Turn Two. They turned their attentions on the Hydra-class Carriers, slowly bringing them down with shots from the Seattle-class Carriers and the Centurions, and one was destroyed in a single round by the Taipei-class Missile Frigates. My Strike Carriers secured both of the Orbital Guns and an Augmentations Command Card created a third one on my home Cluster - nice! Their combined fire destroyed one of the Centurions in a single turn, while my Bombers from the Hydras started ripping apart the Seattle-class Carriers and one of the San Francisco-class Bulk Landers.
The Wyvern-class Cruisers and the Djinn-class Frigates ambushed the Avalon-class Battlecruiser, destroying it without letting it fire a shot. The Nickar-class Corvettes sliced through the Strike Carriers on my starboard flank and then ambushed the second San Francisco, smashing it out of the sky. The explosion all but wiped them and the Djinn out - great. The Wyverns, backed up by the Akuma, finished the second Centurion, though the tough bastard did bring them down in concert with a number of Military Complexes and an Orbital Gun LUKE had wrestled back from me.
By the fourth turn I was eight points ahead on scoring. Turn Six saw me capitalise on this, as Luke's fleet was ruined - though to be fair he did a huge amount of damage to me too! The game ended a 17 - 3 VICTORY. Nice start!
GAME TWO - Mixed Engagement versus Scourge
 |
| The Hydra takes cover as the opposing Scourge score critical damage |
The second match was drawn against Chris Rogers and his Scourge - sweet, Scourge on Scourge! His fleet was very specialised - two Battlecruisers (!!!), eight Gargoyle-class Strike Carriers, two Hydra-class Fleet Carriers, a Chimera-class Troopship and four Scylla-class Frigates. I knew I would have to get the Scylla out of the picture, and somehow deal with the the combined threat of two Battlecruisers and two Carriers!
This game was a hell of lot of fun, as we smashed each other out of the sky with incredible speed. Scald is an incredible rule when facing Scourge! The game started violently as the Scylla-class Frigates and my own Djinn took each other out, with the damaged survivors causing a little damage here and there.
On the portside, Chris sent the Bulk Lander and four of the Strike Carriers against two of my Strike Carriers, and by the end of the game had complete control of that side. The other flank saw my four Strike Carriers and the Nickar-class Corvettes achieve control of the entire Cluster against his remaining Strike Carriers, though he did manage to contest one Sector on Turn Four as my Nickars were delayed trying to finish off the Scylla. Down the centre of the board, my Chimera-class Bulk Lander sailed through a huge amount of firepower and secured all three Space Stations by the end of the game, holding the Critical Locations at key times. This additional firepower would swing the game, as the extra Burnthrough Lasers really helped my beleaguered fleet.
In space, the portside saw my Battlecruiser, and both Wyverns (with support from one of the Hydras) bring down his Chimera and both of his Battlecruisers, though they all died in the process. I think one Activation saw four Cruiser-size ships removed! The starboard flank saw my second Hydra work in concert with the Nickars and the Space Station-mounted Burnthrough Lasers to destroy both of the enemy Hydras and secure the space, though I did lose my own Hydras in the process.
By the end of the game we had all but wiped each other out - I had managed to score around two hundred more Kill Points, but we both achieved the maximum extra points there. In terms of objectives, the final score was 26-24 to me. A much deserved 10 - 10 DRAW. Excellent result against a great opponent, this was a lot of fun!
The Scourge were really enjoyable to play against and I was impressed with Chris' fleet. I don't know if I'm ready to run two Battlecruisers just yet, but it is mighty tempting.
GAME THREE - Station Assault versus PHR
 |
| The Scourge dive down into atmosphere as the immense PHR fleet moves overhead |
This game was where the Close Action-specialisation of my fleet was a real hindrance. The PHR would have the range to gut me with Burnthrough Lasers before I was anywhere close enough, and if they survived I would be hit with enough Bombers to destroy any of my ships in a single round.
I resolved to try and run a denial game, using the Debris Fields to protect myself, destroy the Space Stations I could not reach to deny Matt points, and prepare to spring the trap when the PHR got close. The destruction of the Troophips and Strike Carriers was important - I knew that exposing myself to take down one of the Bellerophons would lead to an extremely violent counter-attack, and I saw no point in wasting my ships - but the softer dropship targets would hurt Matt's ability to score later in the game.
The plan got off to a rocky start as a Drive Hack Command Card slowed the Wyverns behind a Debris Field and pretty much took them out of the game. The Hydras destroyed one Space Station to Matt's surprise, and then split their attentions on one of his Bulk Landers and another Space Station. This was my first mistake - I really should have concentrated on one or the other. They quickly became Matt's primary target, and were destroyed in quick succession.
Matt lit up my Troopship with Active Scans, then destroyed it equally quickly. My scattered Strike Carriers secured two of the Space Stations and dived into atmosphere, pursued by the Echo-class Corvettes, while the Djinn and Nickars followed down and prepared to attack.
I made a another mistake with the Djinn, using their consecutive Activations on Turn Three and Four to attack a Bulk Lander (achieving very little with poor dice) and then turning on the enemy-held Space Station. Concentrating my fire on one or the other would have achieved something substantial (blowing the Space Station would have seriously helped at scoring time!), but again I foolishly split fire.
The final turns saw the Akuma-class Battlecruiser destroy one of the Bulk Landers and then flee backwards to secure a Critical Location, while the Wyverns stuggled to get into range. Three Bellerophon-class Heavy Cruisers and a pair of Calypso-class Frigates accompanying them is really unpleasant to play against, and my inability to touch them made for frustrating experience. The only highlight was drawing Augmentations Command Card and using a combination of an exploding Wyvern and this new Burnthrough Laser to destroy one of the Bellerophons. Cool, I guess.
Turn Four we were matched on points, as I held two of the Space Stations and one Critical Location, but by Turn Six I had been tabled and Matt won comfortably. The result was a 3 - 17 LOSS. Not the best end to the day, and enough to drop me down to fifth place.
RESULTS

At the end of the day I had finished distinctly mid-table - Fifth Place! My opponents finished 1st, 2nd and 9th, which is an extreme spread! I had a win, loss and a draw, scoring 17-3, 10-10 and 3-17 - nice and consistent.
THOUGHTS AND OBSERVATION
Overall I think the tournament was a big success, and a good showing for some of the most experienced Dropfleet players in the country. As both an organiser and a player (as well as trying to attend to show and do some shopping!) I was extremely busy and could barely pay attention to everything that was happening, but I think it went well. I will need to listen to the next podcast from Scanners Offline and hear their thoughts on the organisation!
Big congratulations to my opponents Matt and Chris, who finished First and Second, and of course for Adam and his Third place position. Obviously I need to up my list-building game!
Gaming-wise I need to rethink my Close Action Scourge fleet - perhaps a pair of Sphinx-class Cruisers instead of the Wyvern-class Cruisers would be a good swap, or finding a way for more Drop. I was pleased with most of the squadrons and ships when they did get to attack - especially the Nickar-class Corvettes who caused a lot of damage in the first and second games.
It was interesting to see how the Redditch team play - most of them are now running a Battle Group with a Strategy Rating of three (like my Taipei-class Missile Frigates back at Midlands Maelstrom and Fleet Muster II), They also run a single Strike Carrier at the back of the board running Active Scans and then ducking to secure a late game Critical Location. All three of my opponents did this, and Luke said he was inspired to run this style of play after seeing my use of Jakarta-class Aegis Frigates at Maelstrom. I claim all the glory and sole responsibility for this tactic (I kid, I kid!). The development into a lone Strike Carrier is a solid idea - I'm intrigued!
Overall I had a lot of fun with the Scourge, but I think my list needs work. In the time since the tournament I have been thinking about my UCM a lot, and honestly I think I might return to them for a time. Perhaps it is too early to say. I also think I need to go back to the Scourge and do some extra painting on the Cruiser-hulls, as at the moment I am not happy with the final result there. More corrosion, more battle damage and maybe even some barnacle-like growths are all in order.
So there we are! I think I'm due a little bit of time off Dropfleet, but then we'll be getting the practice back in and aiming for Midlands Maelstrom II! Who knows what fleet I will bring?
Thanks for reading,
George
MORE PICTURES - Courtesy of Adam
 |
| Shaltari take on the Scourge in the final match |
 |
| PHR versus UCM |
 |
| UCM versus PHR |
|
| The Scourge begin their attack |
 |
| Scourge split their fleet against the UCM |
 |
| Scourge versus UCM |
|
| A vicious civil war between the Scourge fleets |
 |
| Shaltari face the Post-Human Republic |
 |
| The PHR engage in a training exercise |
 |
| Scourge ships engulf the UCM |
 |
| Further attacks on UCM space |
 |
| PHR and Scourge ships engage at close range |
 |
| The squadrons of Scourge vessels dive into atmosphere |
|
| Scourge ships use the cover of the debris as they advance |
No comments:
Post a Comment